Technical data sheet - Sclerograph rebound hardness tester
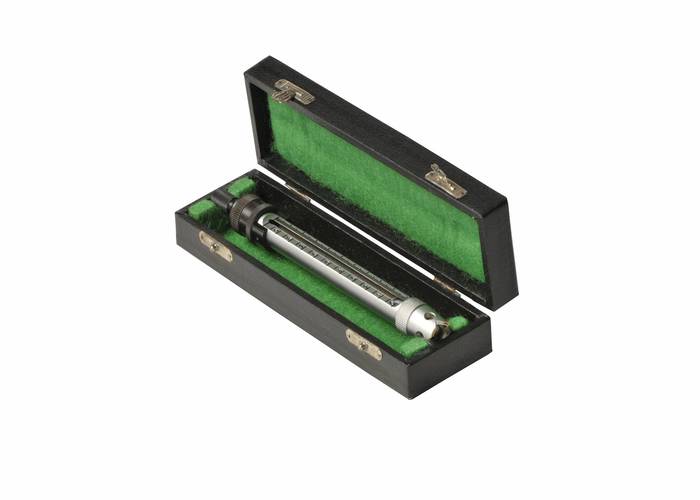
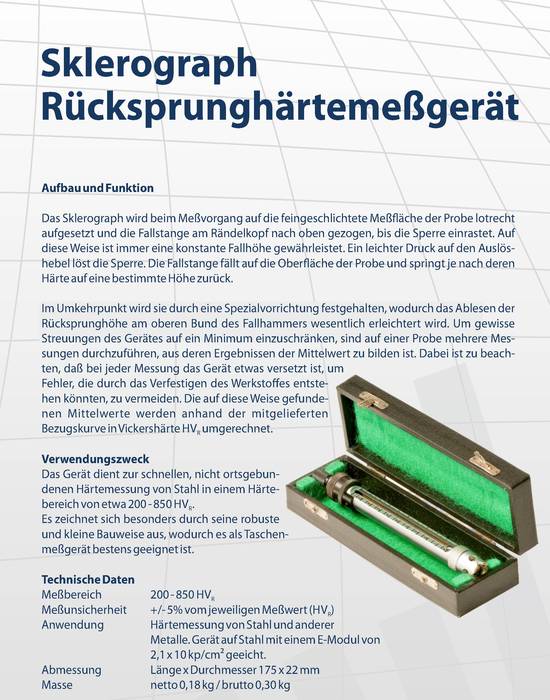
Sclerograph rebound hardness tester

Measuring range
- 200–850 HVR
Measurement uncertainty
- +/- 5% of the related measurement value (HVR)
Application
- Hardness measurement on steel and other metals
- Device calibrated for steel with a modulus of elasticity of 2.1 x 10 kp/cm².
Dimensions
- Length x diameter 175 x 22 mm
Mass
- Net 0.18 kg, gross 0.30 kg
You can go back to the Sclerograph here
For the measurement of the hardness of steel in a hardness range of 200–850 HVR
During the measuring process, the Sclerograph is placed perpendicularly against the finely ground surface to be measured on the sample and the drop rod pulled up at the knurled head until the catch engages. In this way a constant drop height is always ensured. The catch is released by gently pressing the release lever. The drop rod falls onto the surface of the sample and then rebounds to a certain height depending on the hardness of the surface.
